

If you have a personal profile on Facebook, it’s best not to use this for your author activities. Follow my easy guide on creating a Facebook author page.
Problem
You have a Facebook personal profile for your relaxed, everyday comms with friends, family, ex-school friends etc, but you’d also like to communicate with fellow authors, fans and other audience groups. Sound familiar?
You want to keep your personal profile and your author presence separate, but Facebook will not allow you to set up a second profile for your author alter-ego.
Solution
Facebook offers ‘pages’ (distinct from ‘profiles’), for businesses, artists, writers and other non-personal profile types. What’s more, you can create many different pages using your personal profile as a starting point. I have a Facebook page for my writing, and another for my editing and proofreading business.
While you manage your Facebook page from your personal profile, people who visit your page won’t be able to see your profile, just the content on your page.
It’s also worth noting that your Facebook friends will not be notified when you create your author page, unless you actively choose to invite them to Like the page.
Pages have similar functionality to profiles, including:
- the ability for a ‘page’ to Like another page
- a news feed just linked to your author page, i.e. separate from your personal news feed
- the ability to comment on other pages as your author page, rather than using your personal profile.
Why not just use your personal profile?
- Depending on how locked down your privacy settings are on your personal profile, then fans, other authors and the world at large will see your photos and other profile details, things that you may not necessarily want to share with people in your author world.
- Your friends and family in your personal Friends list may not be interested in your postings as an author. I know, they must be mad, why wouldn’t they? But you need to respect that.
- Your personal profile may be locked down so that only your Friends can find you. But you may want your author profile to have more exposure.
- Facebook doesn’t allow marketing of products or services from personal accounts.
- If you want to advertise on Facebook, you need to do this from a page; you can’t do so from a profile.
Great stuff that comes with an author page
- People can Follow your author page, so they will see your updates.
- If you write under more than one name, you can set up a page per pen name.
- Analytics information (‘Page insights’ – this isn’t available for a personal profile).
- Aggregation of news in your industry, rather than it being hidden amongst news from your Friends. You can then comment on these easily, and get your name recognised.
- Tabbed content (videos, photos, reviews and more).
- Multiple administrators (useful if you have a team of people who manage your marketing, or a virtual assistant who handles your PR).
- Customised ‘like’ button for your website.
How to set up your Facebook author page
Before you begin, if you don’t already have a Facebook personal profile, you will need to set one up. This must be in your name, rather than that of your pseudonym if you have one.
- Go to your personal profile and click on the square of nine dots top right (this is the ‘Create’ menu’. I know, not obvious).
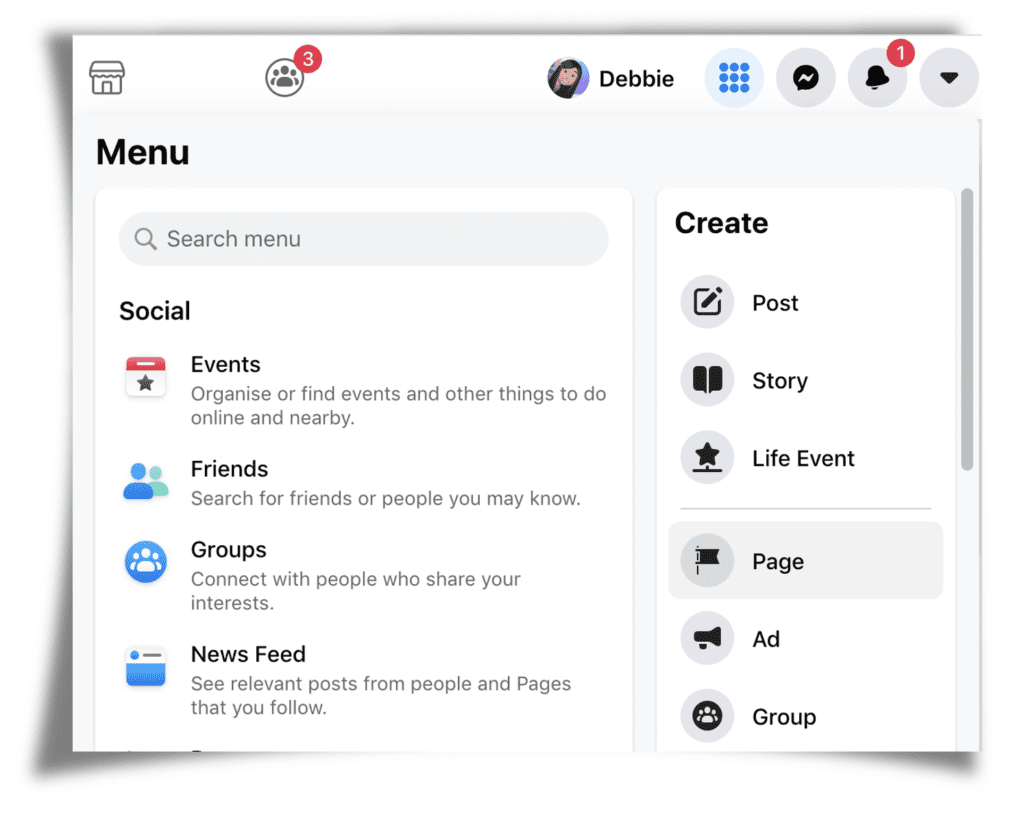
- Select ‘Page’.
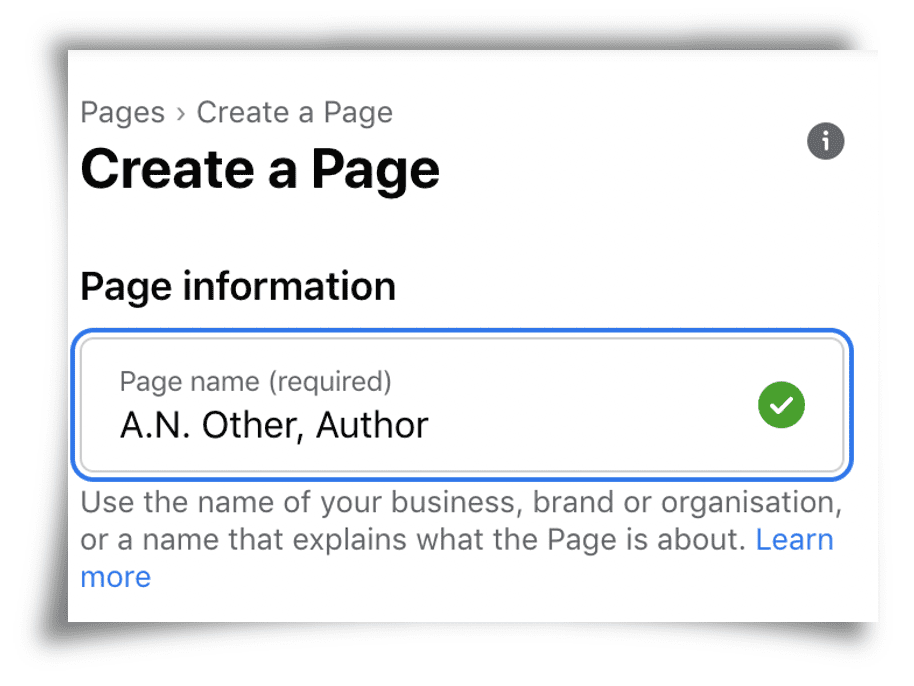
- Enter your page name. This is likely to be your author name, so whichever name you are publicly known by, or by which you would like to be known when you are published. If you write under a pseudonym, enter that. If you don’t use a pseudonym and you’d like to easily distinguish between the name of your personal profile and your author page, you could add “Author” after your name. (Mine is ‘Debbie Emmitt, Author’). Pick something containing keywords that people are likely to use to find you.
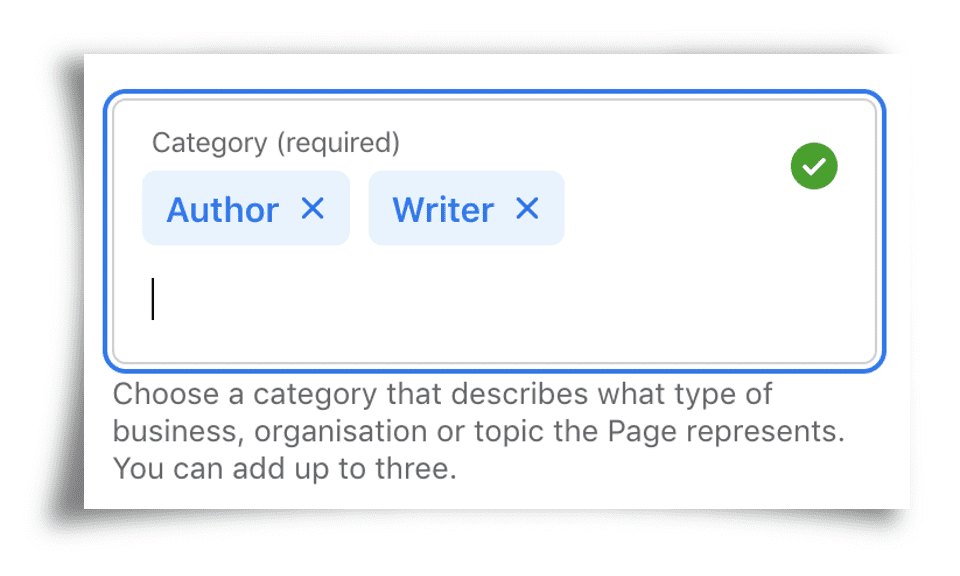
- Start typing a relevant category. I’d suggest selecting ‘Author’ and ‘Writer’, then a third that may be relevant to you (although a third isn’t necessary).
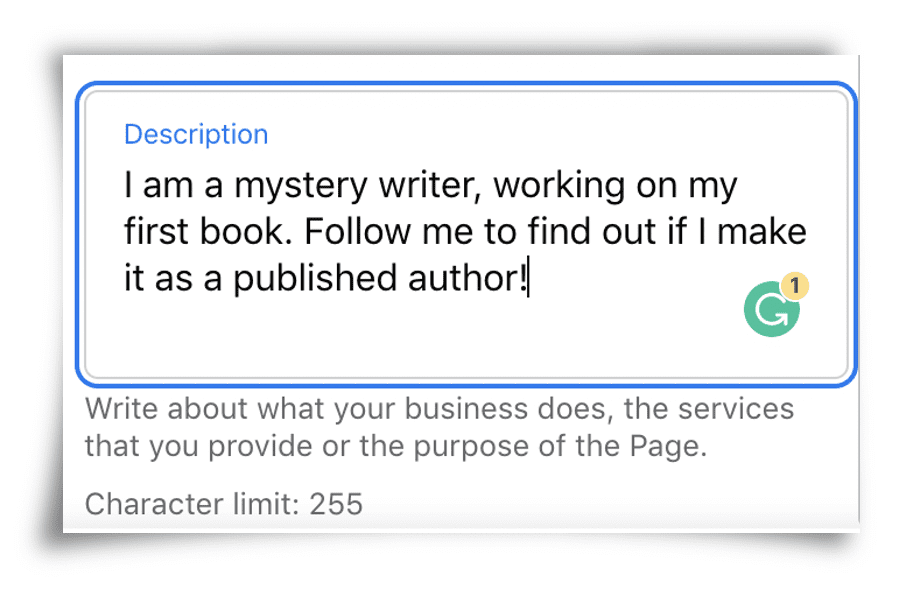
- Write something about your page in the Description box. Don’t waste valuable characters with ‘Welcome to my Facebook page’ – visitors already know where they are. Tell people who you are and what you can offer them.
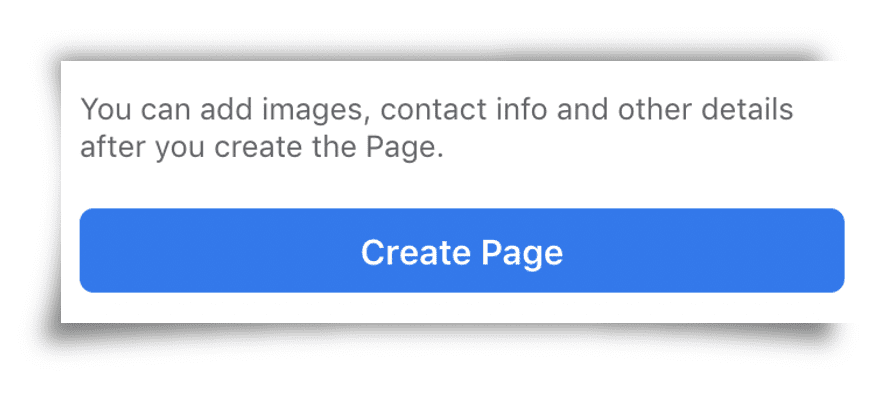
- Click on ‘Create Page’. Facebook will take a few seconds to create your basic page.
- Facebook then presents the next two steps: adding a profile picture and a cover photo. If you hold your cursor over the small ‘i’, it will advise you on the ideal image size.
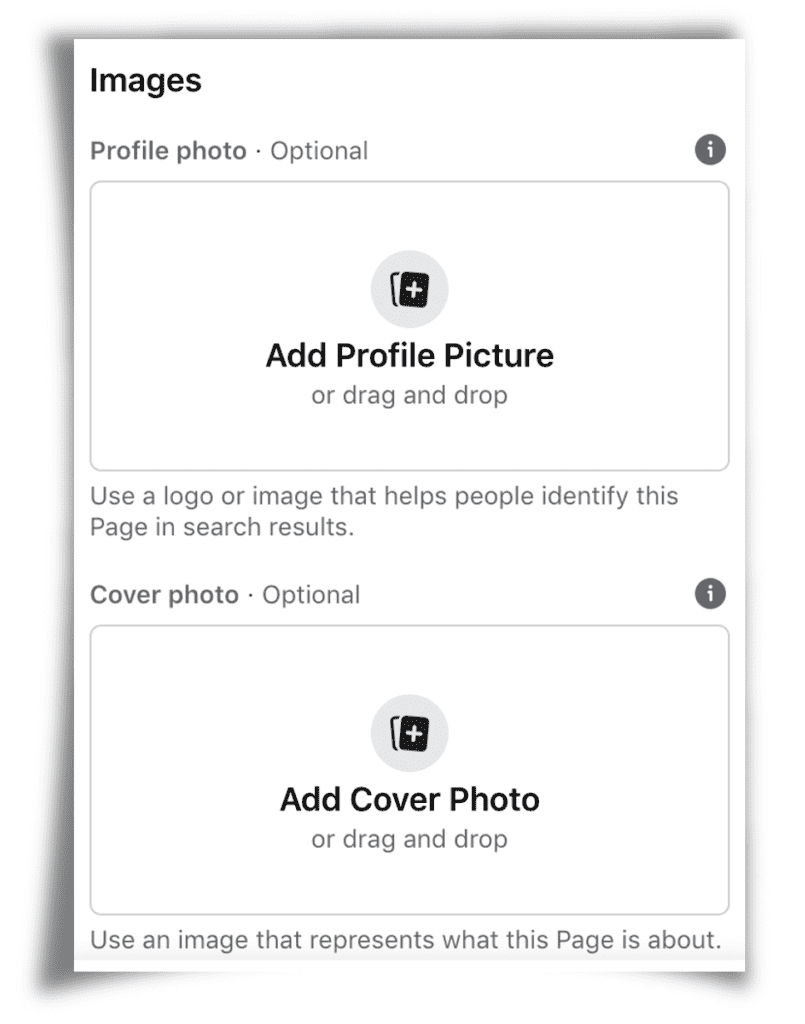
- Click on ‘Add Profile Picture’, and browse to a photo on your computer. Make sure this is a square photo, so that Facebook doesn’t have to crop it and you lose half your face in the final image on your page. It’s also good to use your professional photo that you use on any other platforms (your website, Twitter account etc) to keep your online branding consistent.
- Click on ‘Add Cover Photo’ – the larger photo that will appear at the top of your page, similar to your personal profile cover photo – and browse to the relevant image on your computer. Diana Urban has gathered some fantastic example of Facebook author page cover photos in her article, 50 Stellar Examples of Author Facebook Cover Photo Designs. The large preview pane is super-useful to see if your image is any good, and it’s easy to bin the one you’ve picked and browse to a different one.
- When you’re happy with your profile pic and cover photo, hit ‘Save’.
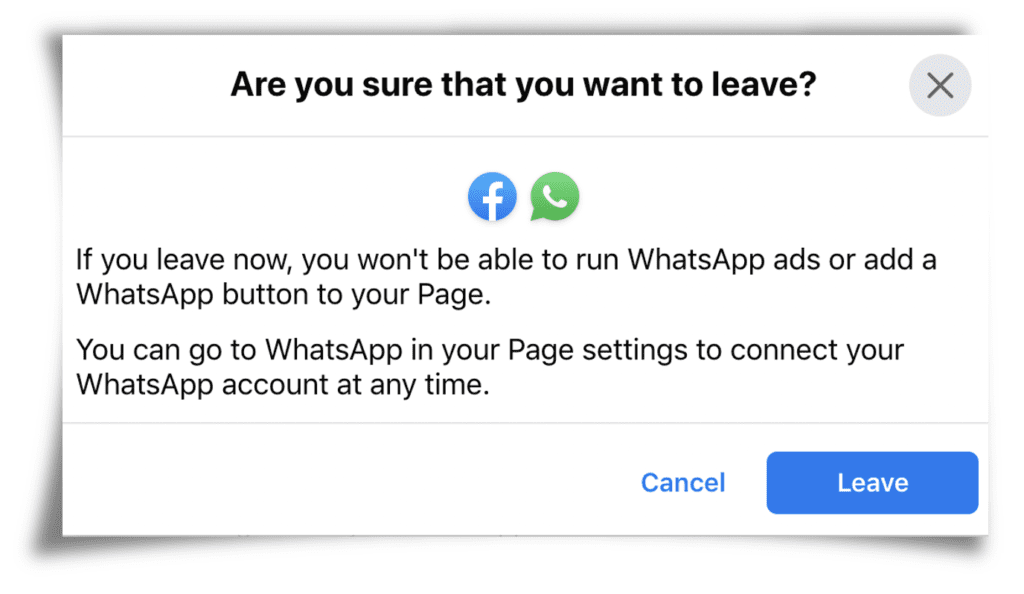
- Now you get a prompt to connect your Facebook page with WhatsApp. I’m guessing this pops up because Facebook owns WhatsApp, so feel free to ignore by clicking the top-left cross. I think this is mostly used for businesses that have a WhatsApp business account. I can’t see how you’d use it for your author page, but if I’m missing some major marketing silver bullet here, let me know in the comments!
- Facebook now asks if you’re really, really sure you don’t want to link to WhatsApp, as if it’s your one and only chance. It isn’t. You can still connect the two accounts at a later date, via your page settings. If you don’t want to link up, select ‘Leave’.
- Congratulations! You have an author Facebook page, with a profile picture and a cover image. It looks the business!
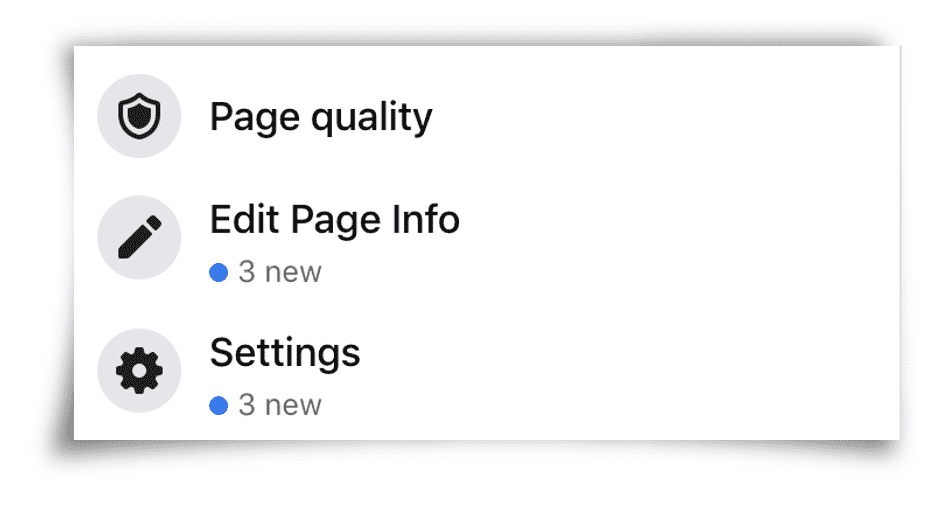
- Facebook will have automatically created your page URL by using your page name and adding random numbers on the end. You’ll want something more marketable. Go to ‘Edit Page Info’ in the left-hand panel (you may have to scroll down to see this).
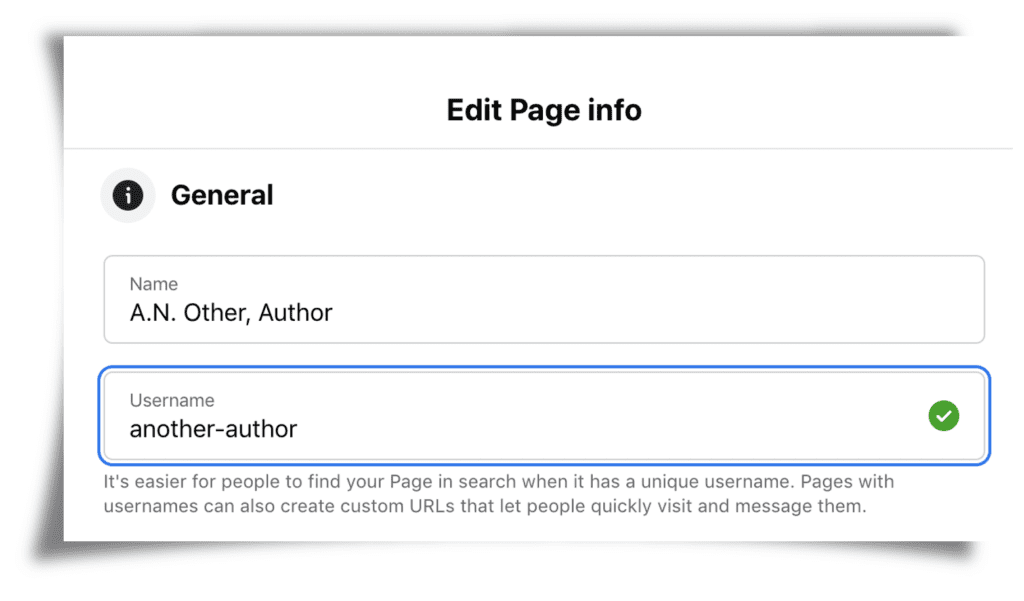
- Enter a username that makes sense for your author page (mine is ‘debbieemmitt’, but you can add ‘author’ if you want). Bear in mind that Facebook doesn’t allow spaces, hyphens/dashes or underscores in the URL. If you’d like to denote a space, use a full stop/period. As long as no one else is using that username, you’ll see a green tick in the username field.
- If you’re ready to tell the world about your page, invite people from your Friends lists to Like your page. You might want to wait until you’ve improved your page a bit. Desperate to get the word out? From the main view of your page, select the ellipsis (three dots next to the search icon), then ‘Invite Friends’.
That’s it! Your page is created, and ready for you to flesh out. Now work through the steps under ‘Set your page up for success’. Don’t feel you have to share any location or contact info. Only provide details that you’re comfortable with total strangers knowing about you.
Next steps
Take a look at my Facebook survival guide for authors and writers.
Visit my Facebook author page and say Hi!
Share a link to your Facebook page in the comments so that others can see it and Like it.
(By the way, if you were wondering how I got the paper curl effect on the screenshots through this post, I used Powerpoint, and followed the excellent advice of Adam Noar on Presentation Panda.)


Lisa C Miller
Here is my facebook writing page link: https://www.facebook.com/Inspirationbooks63
Debbie Emmitt
Thanks for sharing, Lisa. I like your use of the action button to guide people to your site to buy your books, great call to action! Also, I can see you post regularly which is one of the things the FB algorithm likes.
Sonia Gomez-Neri
Hi Debbie,
Thank you for your very helpful article. I’m getting ready to set up my fb author page, along with other social media accounts.
However, I was wondering, can I join fb author groups with the author page that I set up? Or will I have to join with my personal fb account?
Please let me know.
Thanks so much!
Sonia
Debbie Emmitt
Hi Sonia, the answer is ‘it depends’! Sometimes the option pops up when you join a page, sometimes it doesn’t. After researching in the past, I think it depends on how the other page owner has set up their page and what options they’ve chosen. If anyone knows more about this, join in the discussion!
Taiwo Mayowa
Ebook on how to run Facebook ads
Jamie Sean Lardner
This was perfect. Thank you…